Early Bronco Build

#41
I have a brand new passenger rear quarter I'll make you a deal on! I ended up just not needing it and it's sitting in the original box in my storage unit. I live in Greenwood...


Sent from my iPhone using Tapatalk
Thanks, I've cut the quarter panel out but I think I'm just going to use the sheet I had rolled as the quarter panels instead of layering it over sheet metal.
 
#42
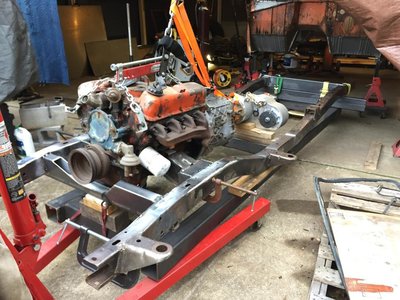
Bringing this back from the dead, I haven't updated this in a while but I've been getting some stuff done on it. A while back I ordered a new tailgate for it. It's made from original ford tooling so its pretty quality.

View attachment 7752

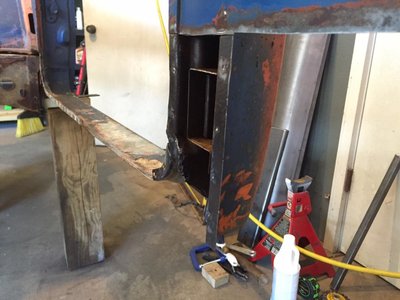
For a while I've been trying to get rid of all the rust, this is some of the worst of it.

View attachment 7753

View attachment 7754

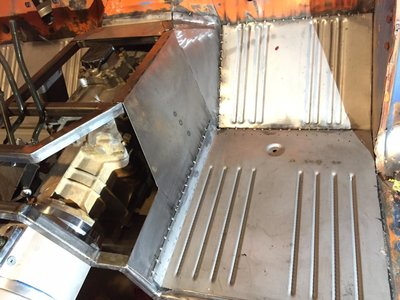
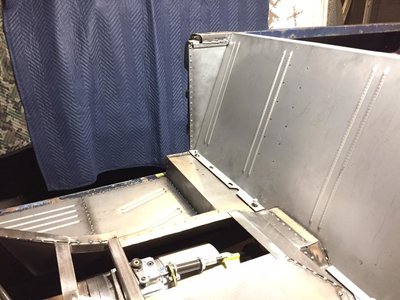
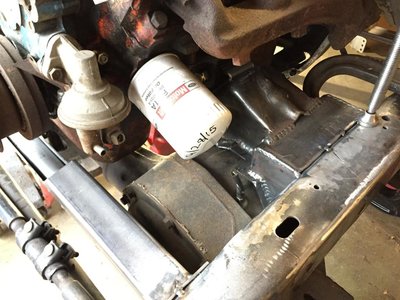
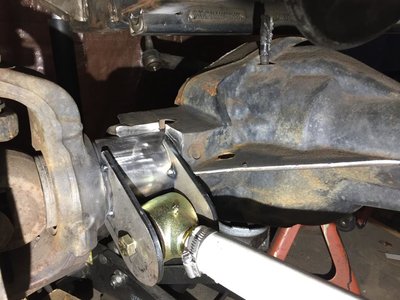
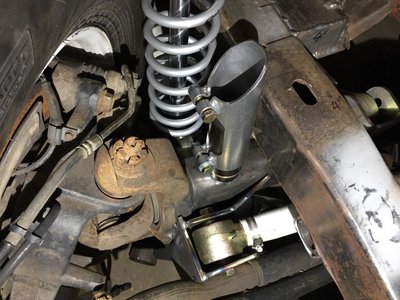
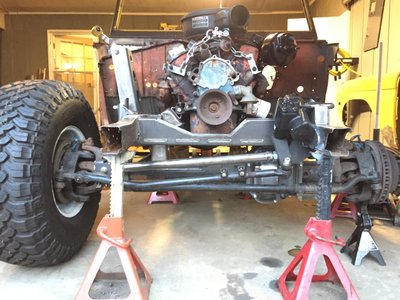
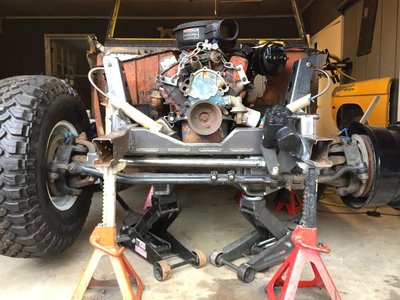
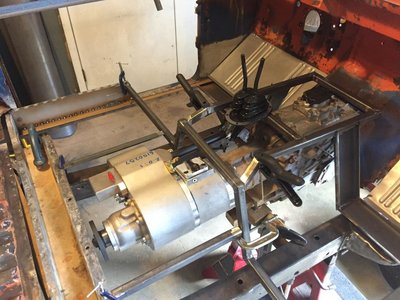
I've made pretty good progress getting the floor pans replaced. I started by setting the transfercase slightly above the bottom of the frame rail and built the floor around it. I hope I'll be able to have a smooth belly pan.

IMG_8654.jpg


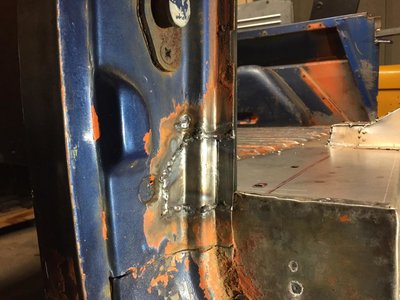
I cut out the bottom of the driver side door post and cowl and sprayed the inside with rust converter.

IMG_9097.jpg


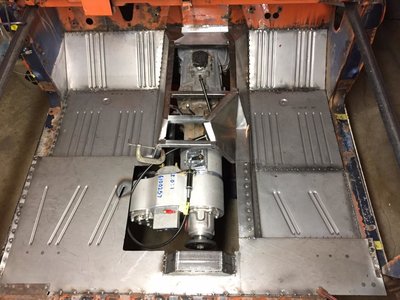
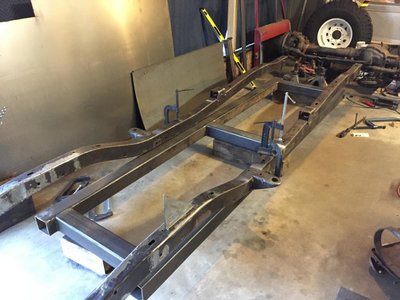
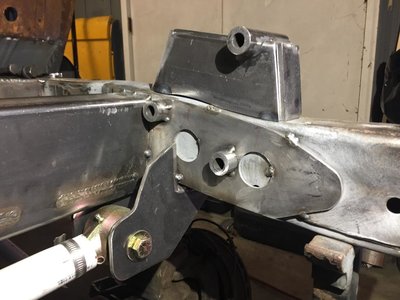
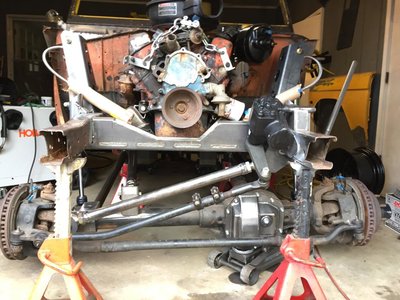
I ended up cutting out all of the floor supports and replacing them with 1" square tubing and some 4" square tubing that I chopped up to make the body mounting crossmember.

IMG_0018.jpg


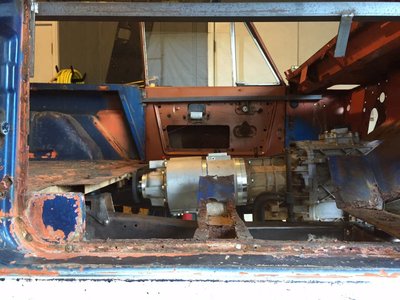
I cut the top of the cowl out and found even more rust underneath. I cut it out and put a patch piece in, coated everything with rust converter and some zinc paint and welded in the new cowl piece.

IMG_9096.jpg

IMG_1681.jpg


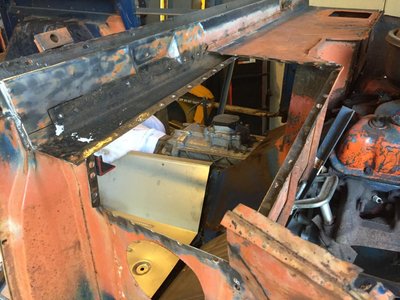
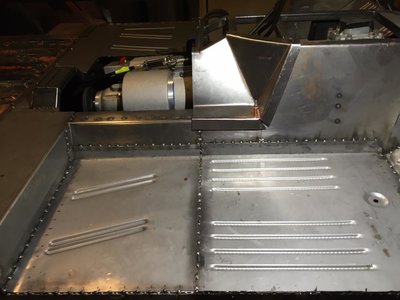
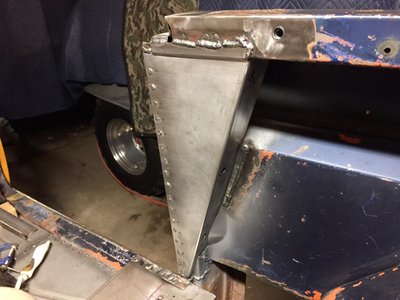
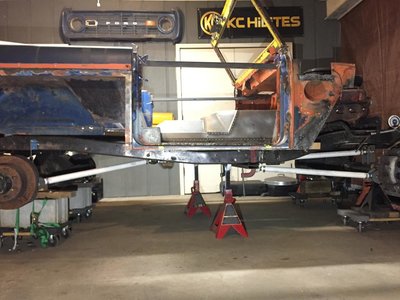
Since the transmission tunnel is alot bigger than the original one, I made some cardboard templates before I cut everything out of 18 ga.

IMG_0723.jpg


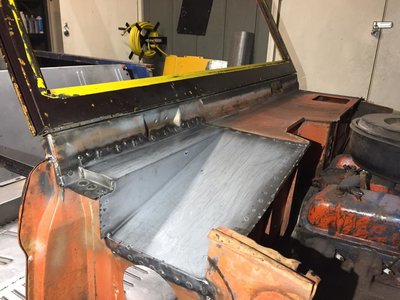
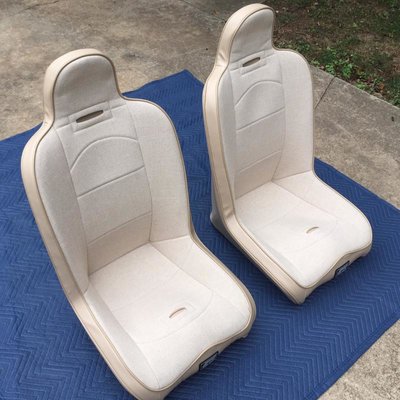
Right before this point I noticed there wasn't much room for the passenger seat. I was planning to use some f-150 seats I had but when I was test fitting them, they didn't fit very well so I decided to get some new seats. I ordered the prp daily drivers and waited for them forever. They turned out nice though. The f-150 seats were about 55lbs a piece so it also saved some weight.

IMG_0464.jpg


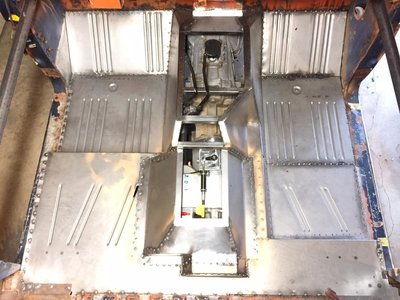
I had to create the big notch in the transmission tunnel to have enough room for the passenger seat. The drivetrain in early broncos is pushed off to the right side so the driver side has alot more room than the passenger.

IMG_0758.jpg

IMG_0865.jpg
 
#44
Here's with everything but the transfercase covered.

IMG_1104.jpg


And then I built a cover for the transfercase.

IMG_1668.jpg


After that I moved to passenger side striker post that had some rust and was bent from the rollover. I cut out the old panel, patched the striker post and welded in the new piece. I also added holes and weldnuts to mount the bulkhead for the halfcab since this was a full top truck originally.

IMG_1776.jpg

IMG_1780.jpg

IMG_1967.jpg


And this is where I'm at today. Most of the rust repair is done. I hope to get started with some frame changes next week and then move on to suspension.

IMG_1971.jpg

IMG_1968.jpg
 
#49
Very nice. I love that Atlas. Been kicking around a change in my 203/205 set up and that Atlas 4 speed was suggested.......
I can't wait to use it. I have an np205 with a bw1356 doubler and an np435 4 speed transmission in my BroncoII and I feel like I'm driving a tractor around, nothing is synchronized. The ZF and atlas should be a lot nicer to use.
 
#51
Very nice work. Wish I had that kinda patience. I would have just put it in 4loever and rolled out then parted it out.
Every time I finish a project vehicle I think to myself next time I'm just gonna start with something nicer so it's easier. So far that hasn't happened though haha.
 
#52
I've been getting some pretty good work done on this lately, I need to catch this back up. After I got the floor pans finished up I took the body off the frame and started working on the frame. The early bronco has very narrow frame rails and the superduty Dana 60 has the center section far to the drivers side so it didn't leave much room for up travel or for the driveshaft. It was also very tight between the transfercase and the frame rail when clocking it flat so I decided to just cut the rails apart and widen them by 6".

IMG_2055.jpg

Widening the frame also let me move the location of the crossmembers so I could stretch the wheelbase a bit more and let me run the superduty steering box on the inside of the rail. I'll also have more room for the exhaust between the rails so I can keep everything up as high as possible. I built new crossmembers from 2x5" tube and sleeved the inside of the front crossmember with 1.75" tubing I had around.

IMG_2096.jpg

After that I put the motor back in and mounted the body and started the suspension.

IMG_2353.jpg

I ended up modifying the motor mounts to get a couple more inches of uptravel in the front so I could keep the ride height as low as possible.

IMG_2456.jpg


Then got started mocking up the 3 link for the front and the 4 link rear.

IMG_2866.jpg

IMG_2870.jpg

IMG_3089.jpg

IMG_3112.jpg

IMG_3121.jpg

IMG_3501.jpg


I have the front all tacked together and will be working on mounting the rear coilovers and bumpstops next.
 
Top